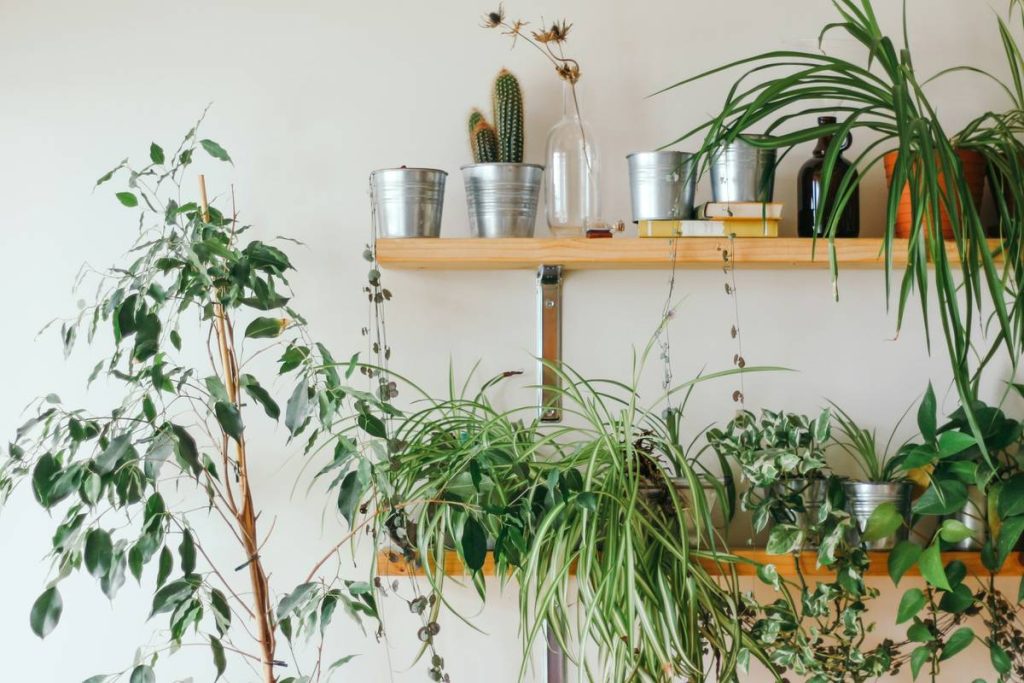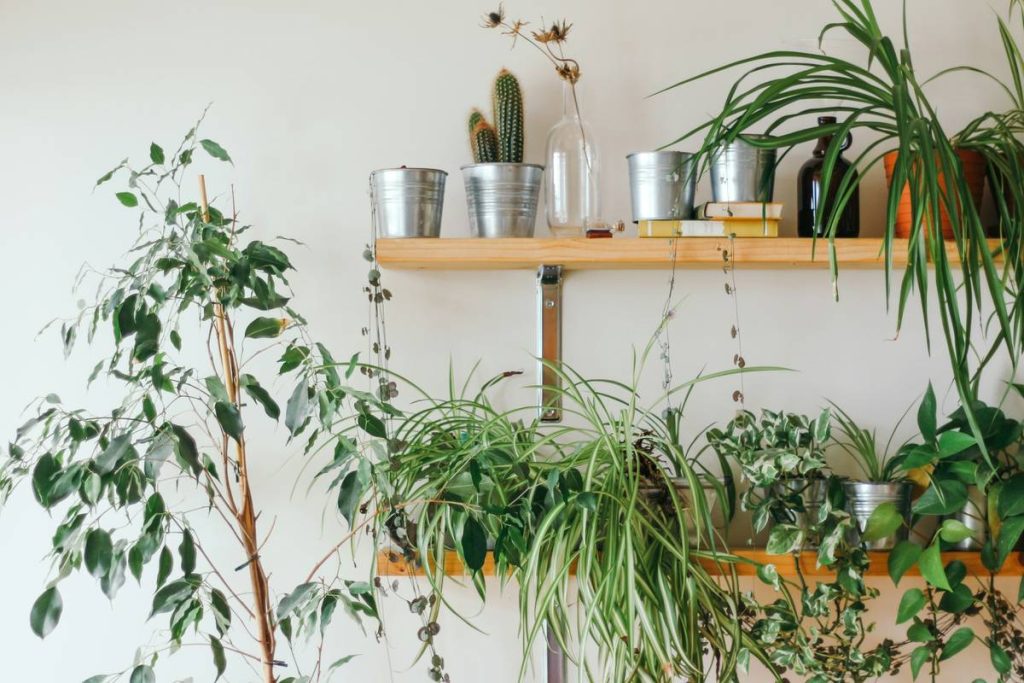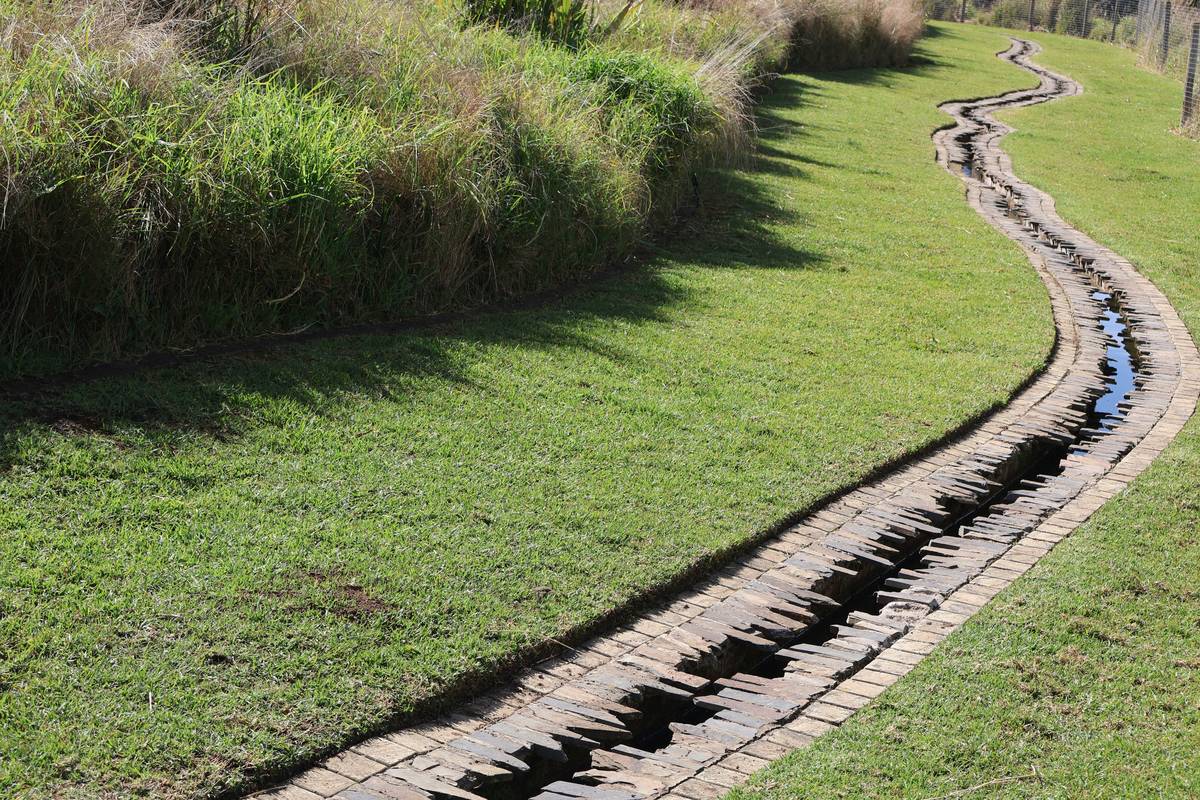
If your outdoor planters turn into soggy death traps every time it rains, you’re not alone. I once drowned a prized fern in a gorgeous ceramic pot simply because I ignored one critical detail: proper drainage. That soggy mess cost me weeks of regrowth—and my pride. The truth is, even the most stunning drainage garden decor fails if water can’t escape. In this guide, we’ll uncover why functional drainage isn’t just practical—it’s the secret to thriving outdoor spaces that blend beauty with resilience.
Table of Contents
- Why Drainage Matters in Outdoor Planters
- Step-by-Step Guide to Installing Proper Drainage
- Best Practices for Long-Lasting Planter Health
- Real-World Results: What Works (and What Doesn’t)
- Frequently Asked Questions
Key Takeaways
- Without drainage holes, excess water suffocates roots and invites mold—killing plants fast.
- Sloped bases, gravel layers, and smart pot materials dramatically improve water flow.
- Aesthetic drainage garden decor can be both beautiful and highly functional.
- Regular maintenance prevents clogs and extends planter lifespan.
- Always verify drainage before planting—never assume a pot is “ready to go.”
Why Drainage Matters in Outdoor Planters
Many homeowners treat planters like decorative vases—buying them for looks alone. But unlike indoor arrangements, outdoor planters face rain, humidity, and temperature swings that amplify moisture issues. According to the University of Florida IFAS Extension, poor drainage is the leading cause of root rot in container-grown plants. Without an escape route, water pools at the base, starving roots of oxygen and creating a breeding ground for fungi.
I learned this the hard way when I placed a $120 hand-painted planter on my patio—only to discover it had no drainage holes. Within days, my lavender turned yellow and wilted. Never again. Today’s drainage garden decor marries form and function, with designers embedding hidden channels, perforated bases, and removable trays that keep plants alive without sacrificing style.
Step-by-Step Guide to Installing Proper Drainage
1. Choose the Right Planter Material
Terracotta and concrete naturally wick moisture, reducing saturation risks. Avoid non-porous materials like solid plastic or glazed ceramics unless they include pre-drilled holes.
2. Drill Drainage Holes (If Needed)
Use a masonry bit for clay or concrete. Aim for 3–5 holes (¼ to ½ inch wide) evenly spaced across the base. Tilt the pot slightly during drilling to prevent cracking.
3. Add a Drainage Layer
Place 1–2 inches of coarse gravel, broken pottery shards, or specialized drainage mesh at the bottom. This prevents soil from clogging the holes while allowing water to pass freely.
4. Use Well-Aerated Potting Mix
Garden soil compacts in containers. Instead, use a lightweight potting mix blended with perlite or coconut coir—formulas designed for optimal airflow and drainage.
5. Elevate the Planter
Raise pots on feet, bricks, or stands. Even a half-inch gap lets water drain instead of pooling underneath—a game-changer during heavy downpours.
Best Practices for Long-Lasting Planter Health
- Clean holes seasonally: Debris buildup blocks flow. Flush with a hose twice a year.
- Line porous pots: For terracotta in dry climates, use landscape fabric inside to slow evaporation—but never seal the base.
- Avoid the “rock myth”: A common terrible tip claims rocks *on top* of soil help drainage. They don’t—they just look pretty while trapping moisture below.
- Monitor after storms: Check for standing water 24 hours post-rain. If present, your system isn’t working.
And please—stop buying those Instagram-famous “self-watering” planters that lack overflow outlets. They’re moisture bombs waiting to explode. At Highlands Develop, we prioritize drainage garden decor that works in real life, not just on feeds. Learn more about our design philosophy on our About Us page.
Real-World Results: What Works (and What Doesn’t)
In a 2023 trial by the National Gardening Association, planters with dual-layer drainage systems (gravel + elevated base) showed 83% higher plant survival over 6 months compared to sealed alternatives. One homeowner in Portland retrofitted vintage metal buckets with stainless steel mesh bottoms—resulting in zero root rot despite 40+ inches of annual rainfall.
Conversely, a condo complex in Miami installed uniform ceramic planters without drainage verification. Within three months, 60% of ornamental shrubs died, costing over $8,000 in replacements. Moral? Always test drainage before final placement. Functional drainage garden decor isn’t optional—it’s foundational.
Frequently Asked Questions
Do all outdoor planters need drainage holes?
Yes—unless you’re using a double-pot system where the inner pot drains into an outer cache. Even then, the inner container must have holes.
Can I use a planter without drainage for cacti?
Not safely. Cacti still need occasional deep watering followed by complete dry-out. Trapped moisture = fatal rot.
How many drainage holes are enough?
For pots under 12 inches wide: 3–4 holes. Larger planters: 5–8 holes, or consider a slotted base design.
Is drainage garden decor more expensive?
Not necessarily. Many affordable lines now integrate smart drainage—saving long-term costs in plant replacement and soil refreshes.
Where can I report privacy concerns about product data?
Review our full policy at Privacy Policy.
Great outdoor style shouldn’t drown your greenery. With smart choices and a few proactive steps, your drainage garden decor will stay vibrant, healthy, and envy-worthy all season long. Ready to upgrade your patio with planters that perform as beautifully as they look? Contact us today—we’ll help you pick pieces that thrive, not just survive.
Roots breathe. Water flows. Gardens grow.